


Honey with honeycomb and bee background

The photos used in this exercise include the bee photo by Caroline and Honey and Clementines by Roberta Sorge.
In designing this Photoshop exercise, I wanted to demonstrate how to use shapes. Using the Polygon Tool, I created a hexagon and turned it into a honeycomb pattern. I removed the background from the honey jar image and added shadows. I used a gradient to decrease the amount of contrast between the foreground product and the honeycomb pattern over the bee image.
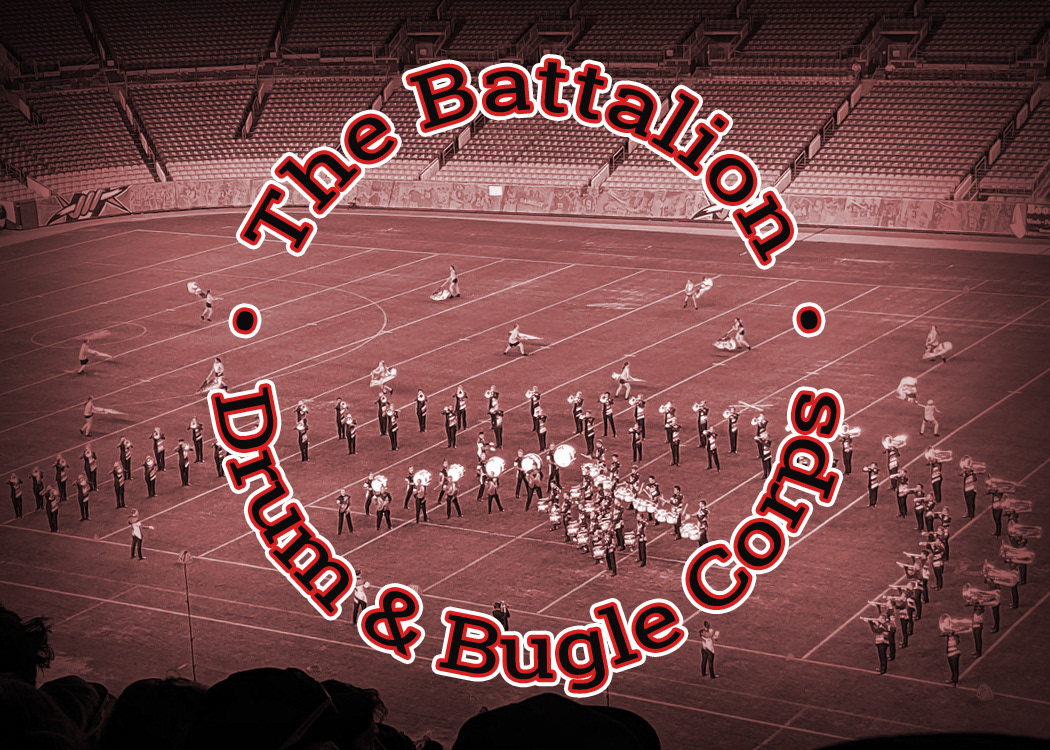
Type on a Path

The Battalion performing at Drums Along the Rockies 2019 photo by Myra Ferguson.
I created this Photoshop exercise to instruct how to create type on a path and manipulate it with the Direct Selection Tool. The final effect includes stacked strokes from layer styles and an adjustment layer and layer style to colorize the background photo.
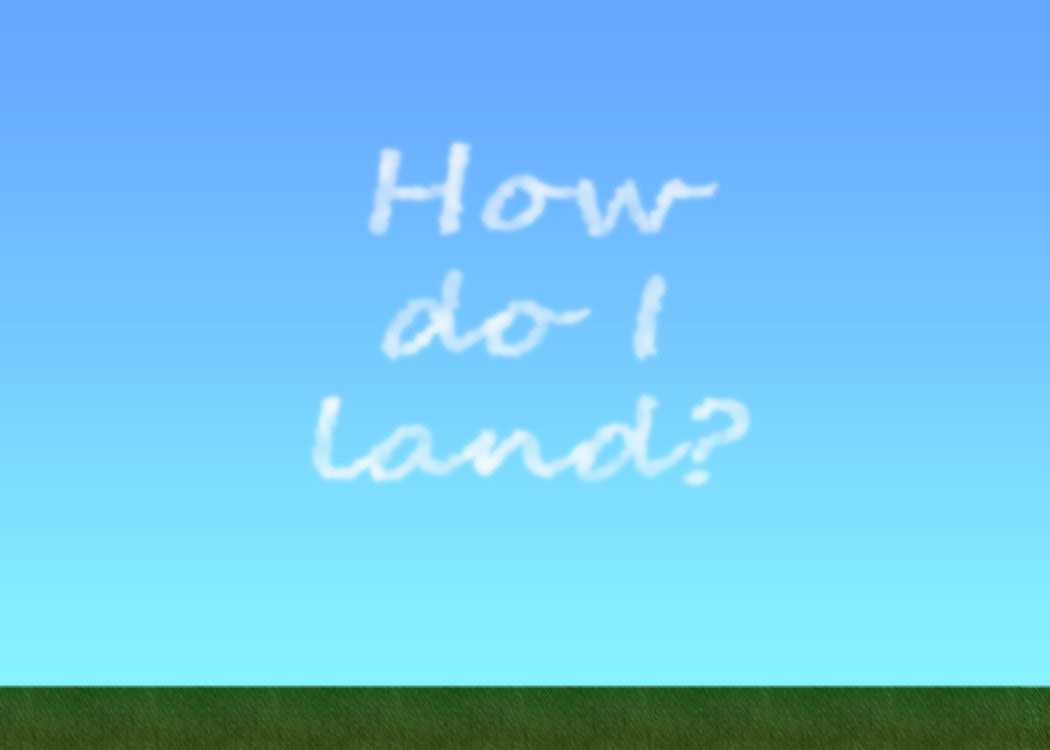
Skywriting Text Effect

The quote is an homage to comedian Kurt Braunohler's skywriting prank from 2013.
In a continuation of text effects, I designed this exercise to showcase a skywriting text effect. I started by creating the landscape background using a gradient for the sky and a pattern with some additional effects to resemble grass. The text effect is a combination of filters and layer masks.
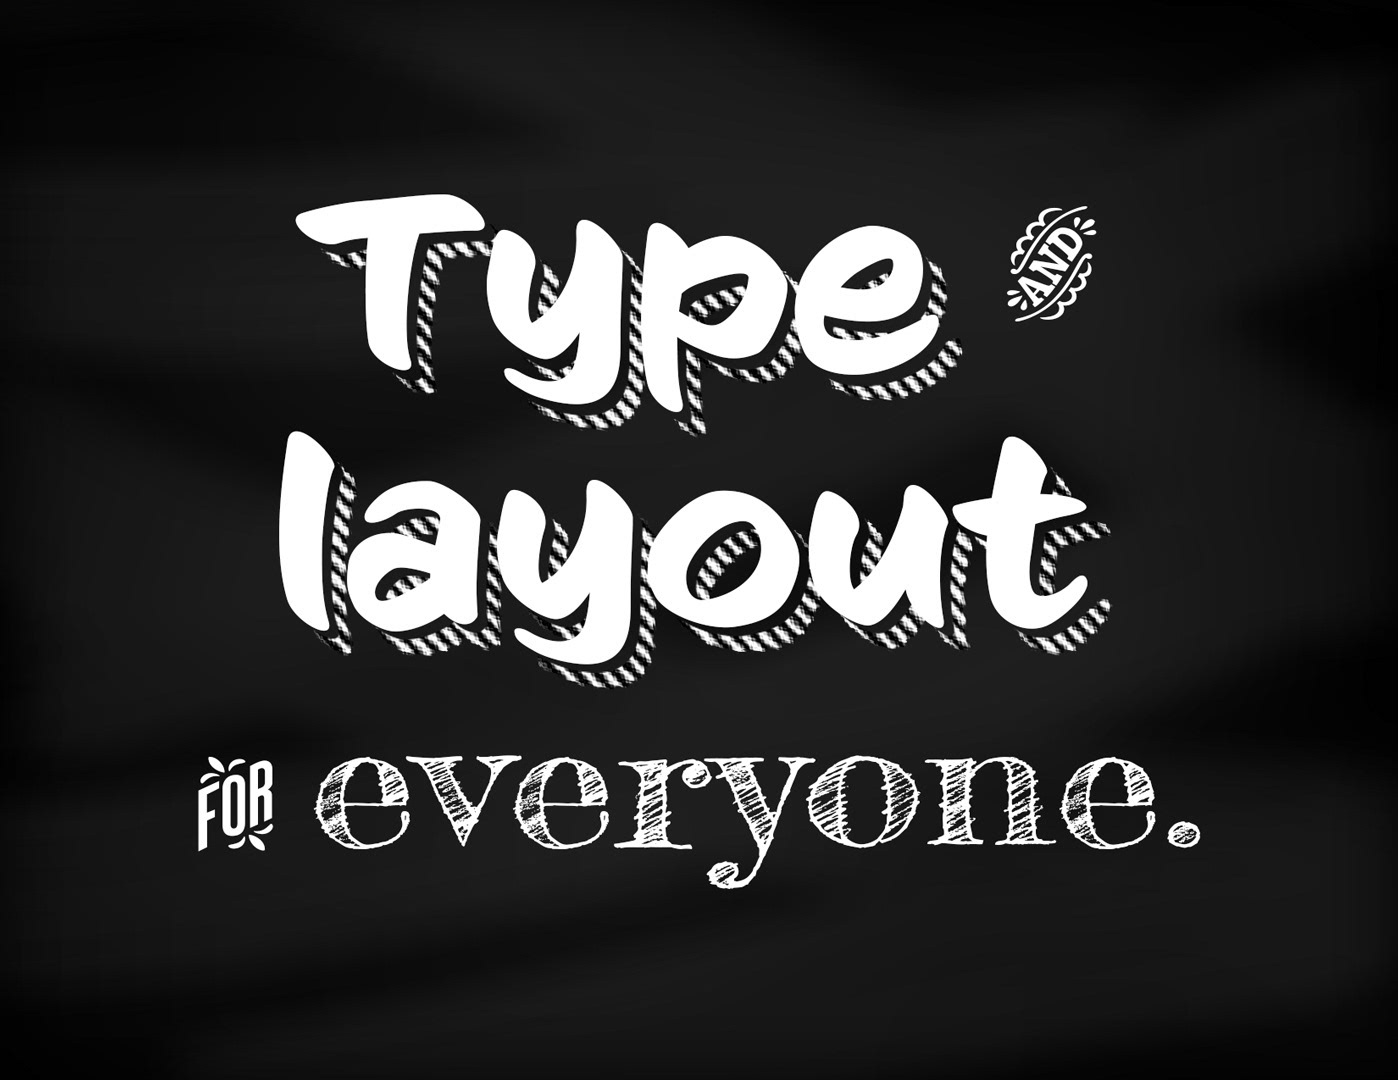
Chalkboard Text Effects

I designed this Photoshop exercise to show students how to use various text effects to simulate a chalkboard. The background was created with a brush and blur. The top text includes a pattern and layer mask. The ornaments were used to show selecting a character using the Glyphs panel. And the last part was purely to show Adobe Fonts typeface selection.
Colorado Text Effect
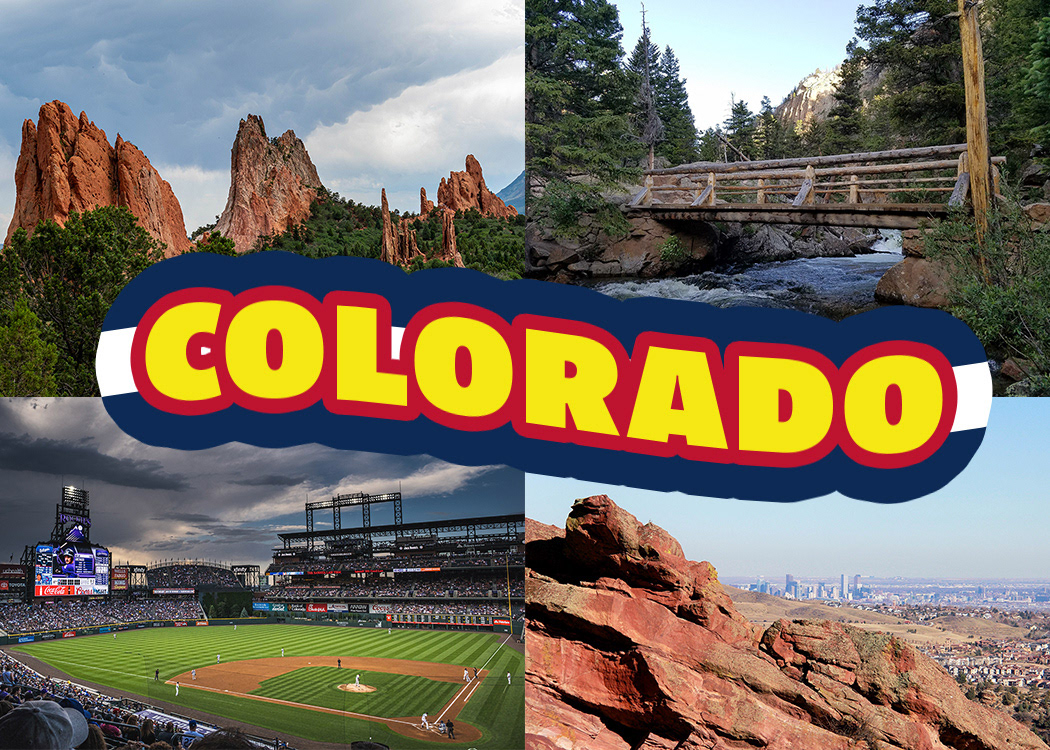
The feature of this image is the swooshing text effect with stacked strokes to resemble the Colorado flag.
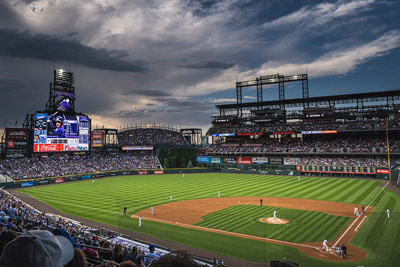
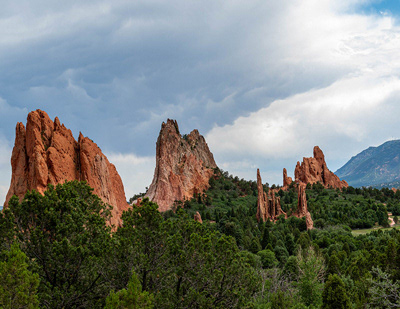
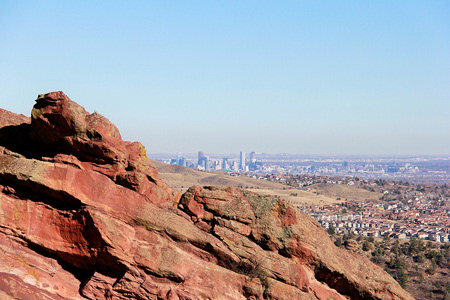
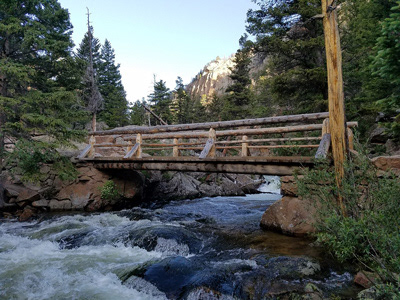
Photos from left to right: A thunderstorm rolls in toward the Rockies game by Owen Lystrup, Garden of the Gods Road, Colorado Springs, CO, USA by Stephen Walker, A view of Denver, Morrison, Colorado, United States by Justin Wang, and Rocky Mountain Nation Park, Colorado by David Reger.
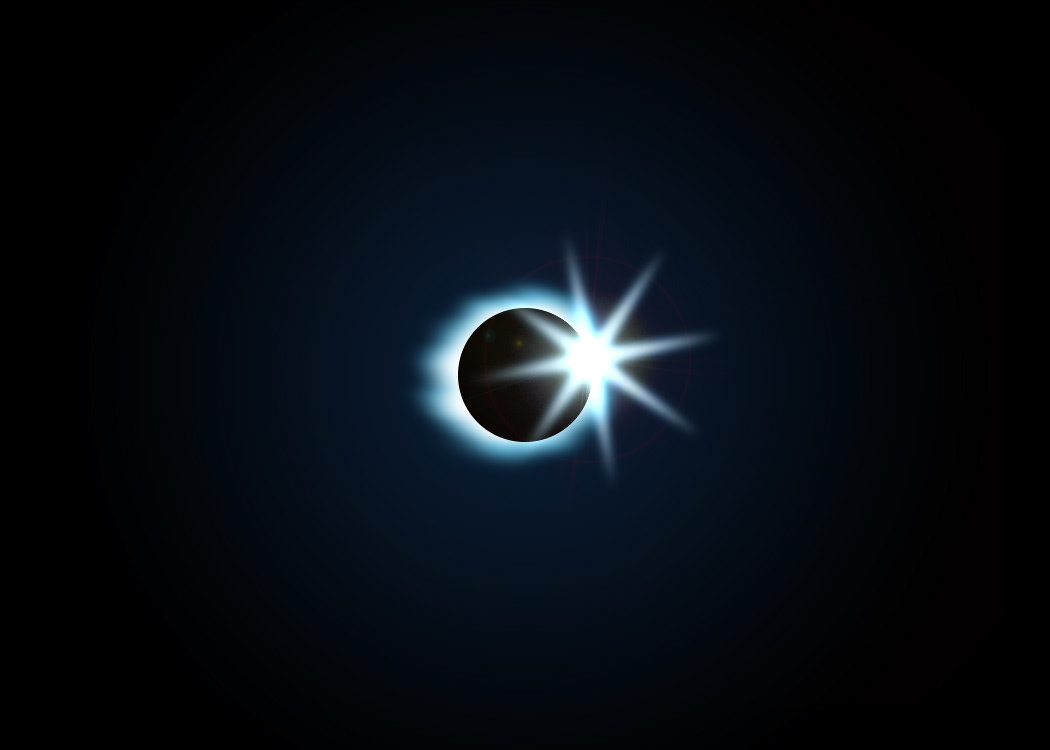
Digital Rendering of a Solar Eclipse and Ring of Fire
Realistic But Fully Generated Palm Tree Scene
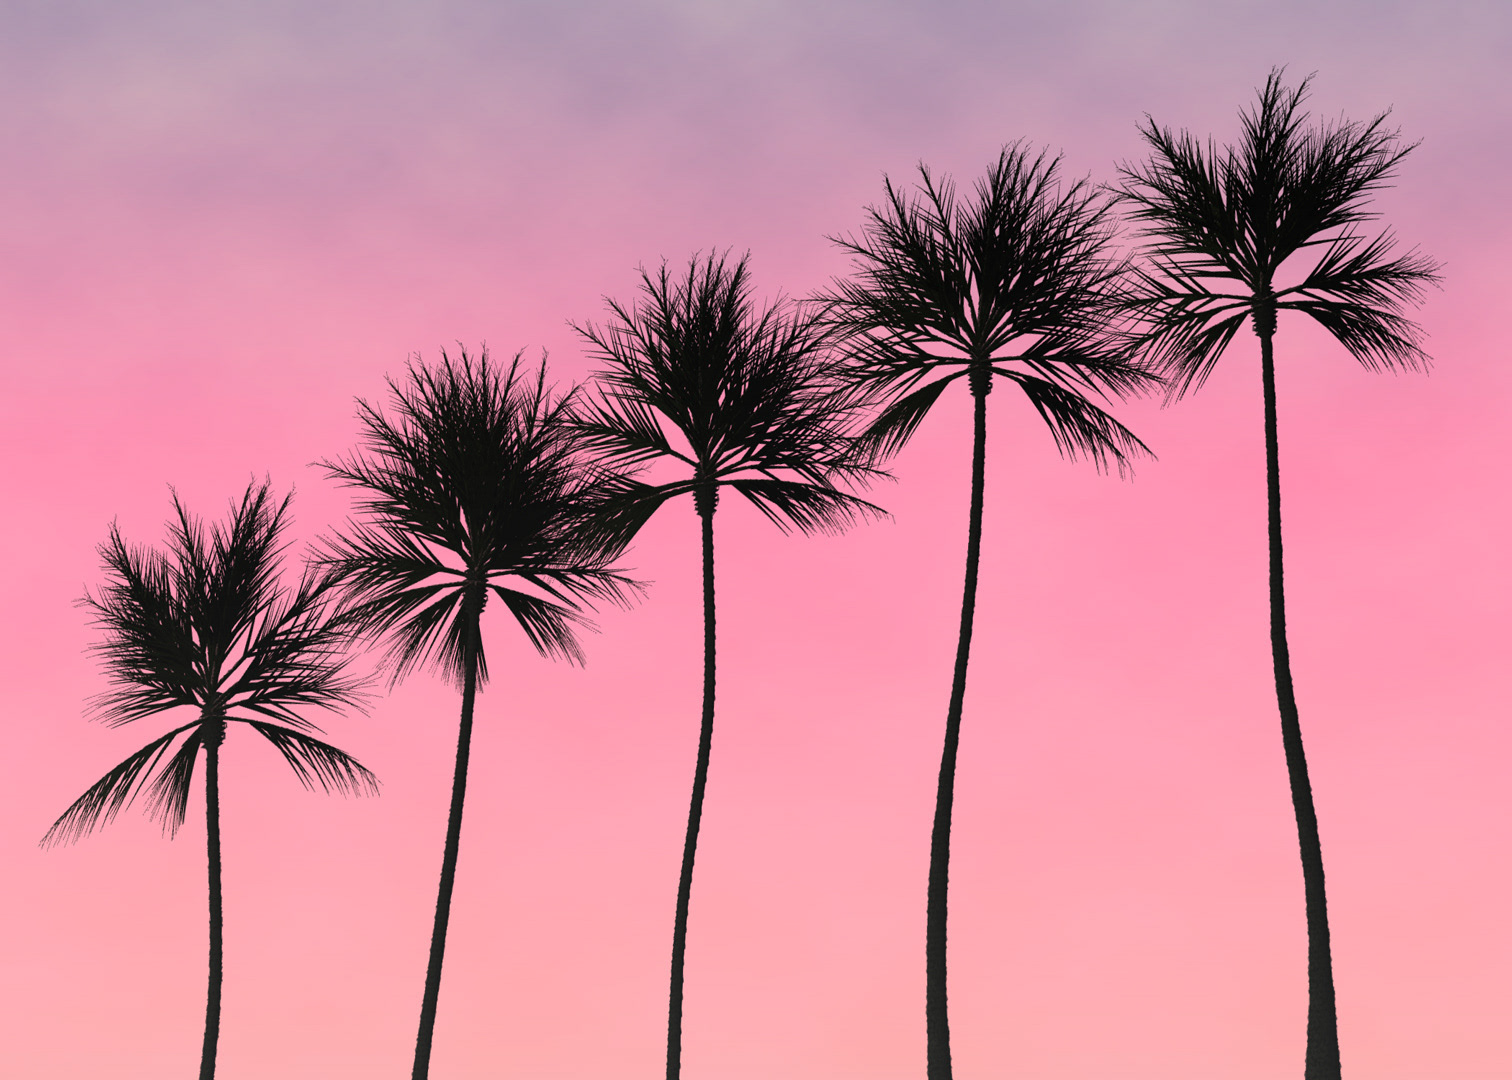
In another demonstration of generating digital art with Photoshop, I demonstrate how to quickly create a realistic palm tree scene with multiple Render filters and adjustment layers.
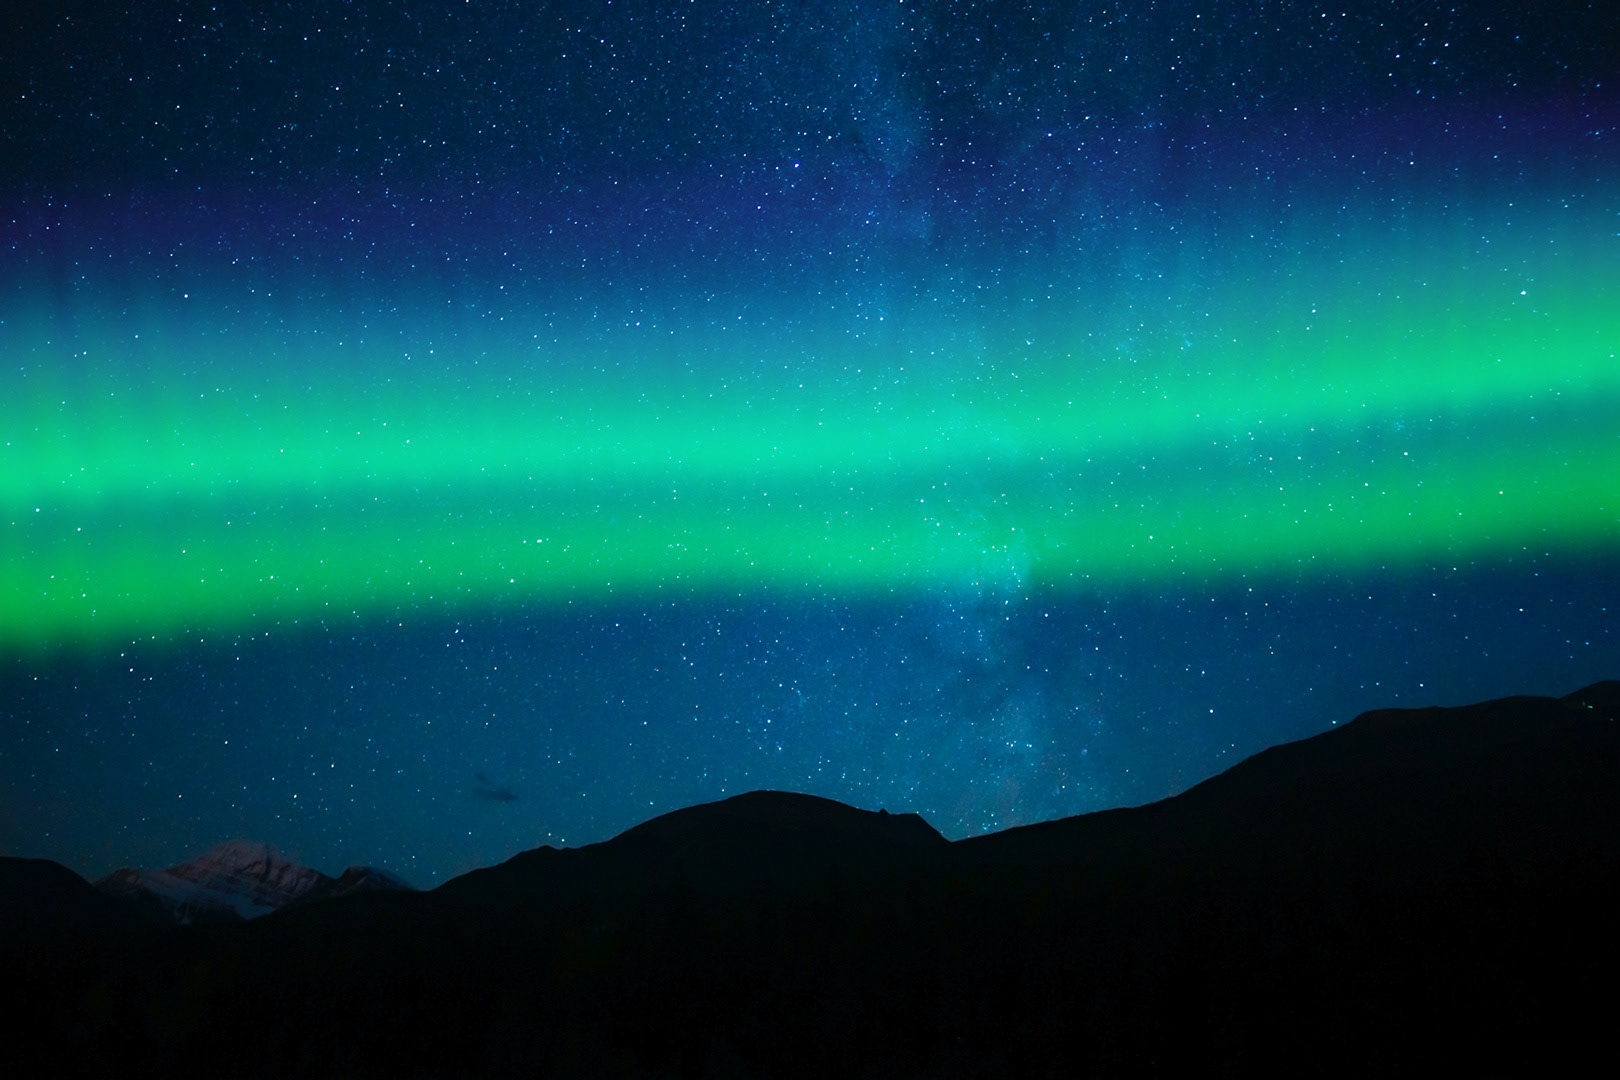
Aurora Borealis Effect

I used a combination of smart filters to create the curved, streaked appearance of the aurora borealis over a photo of the night sky and silhouetted mountains.
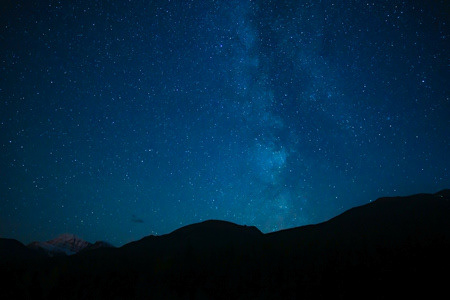
Summer Night Sky Of Stars and Milky Way With Silhouette Mountains by Joshua Woroniecki.
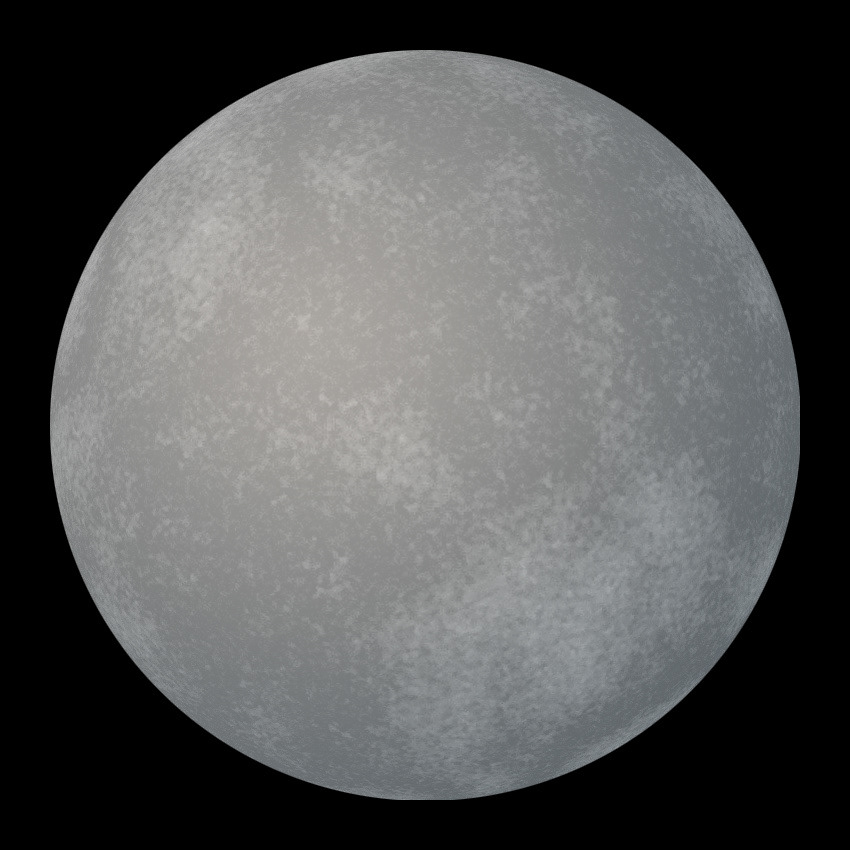
Generated Moon or Planet

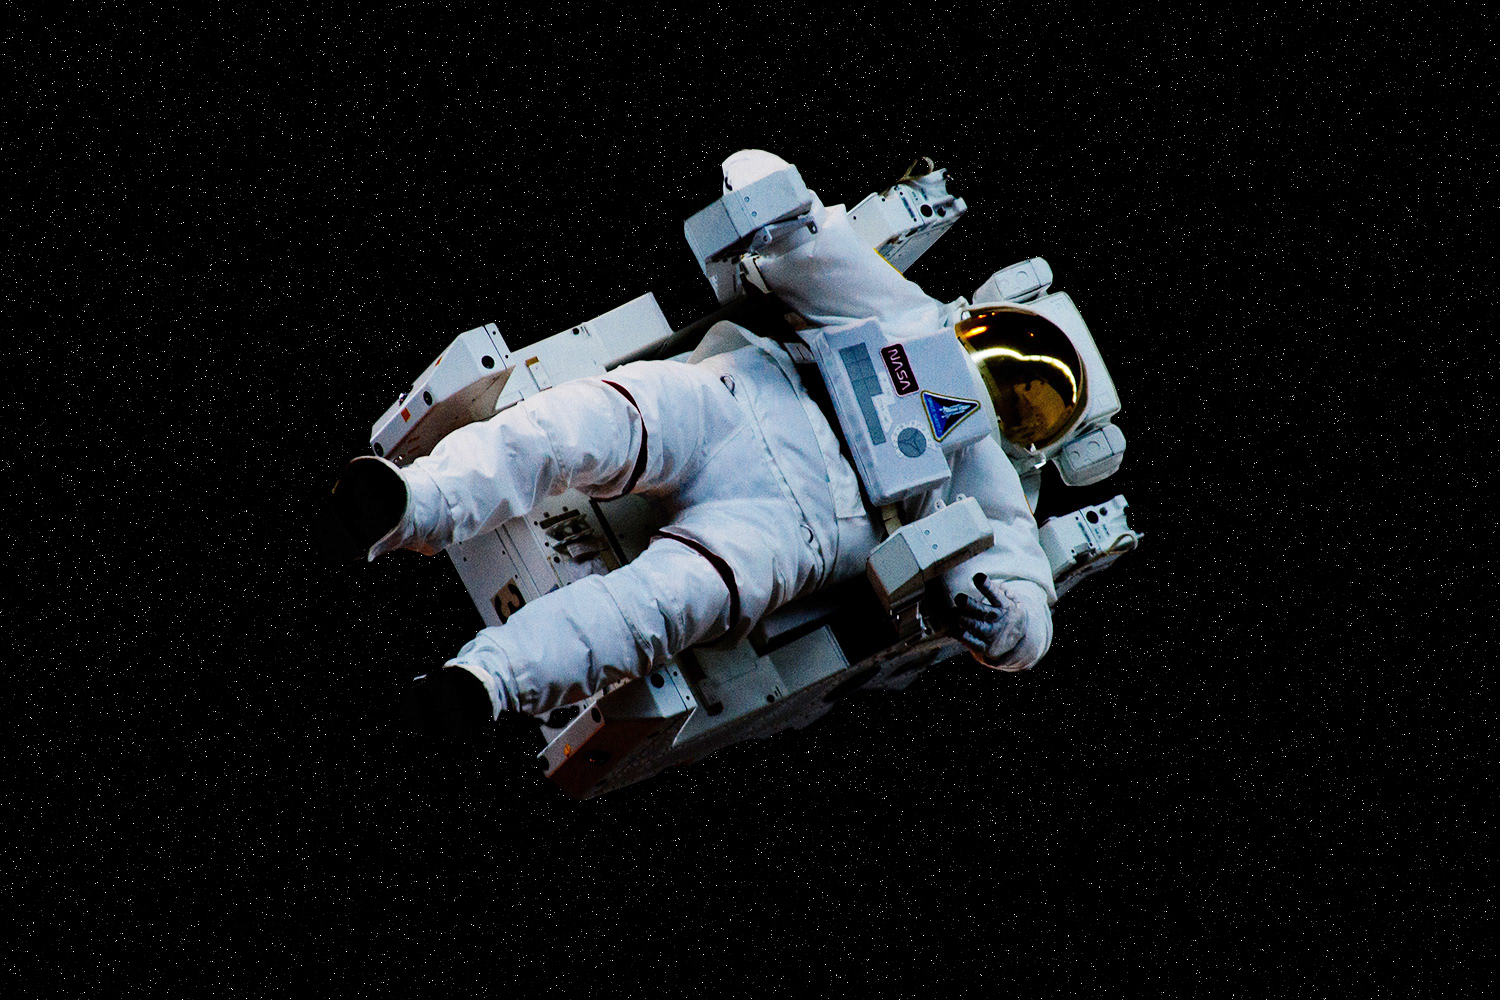
Adding Stars

In this Photoshop example, I instruct students on how to add a field of stars behind the astronaut with a layer mask, noise, and an adjustment layer.
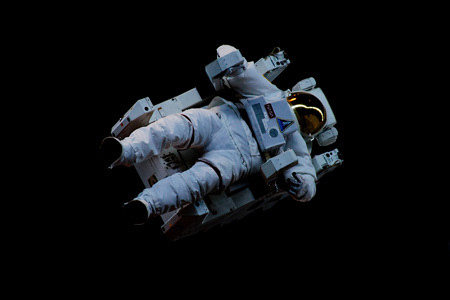
Space, The Final Frontier by Niketh Vellanki.
Adding Rendered Flames to a Hearth
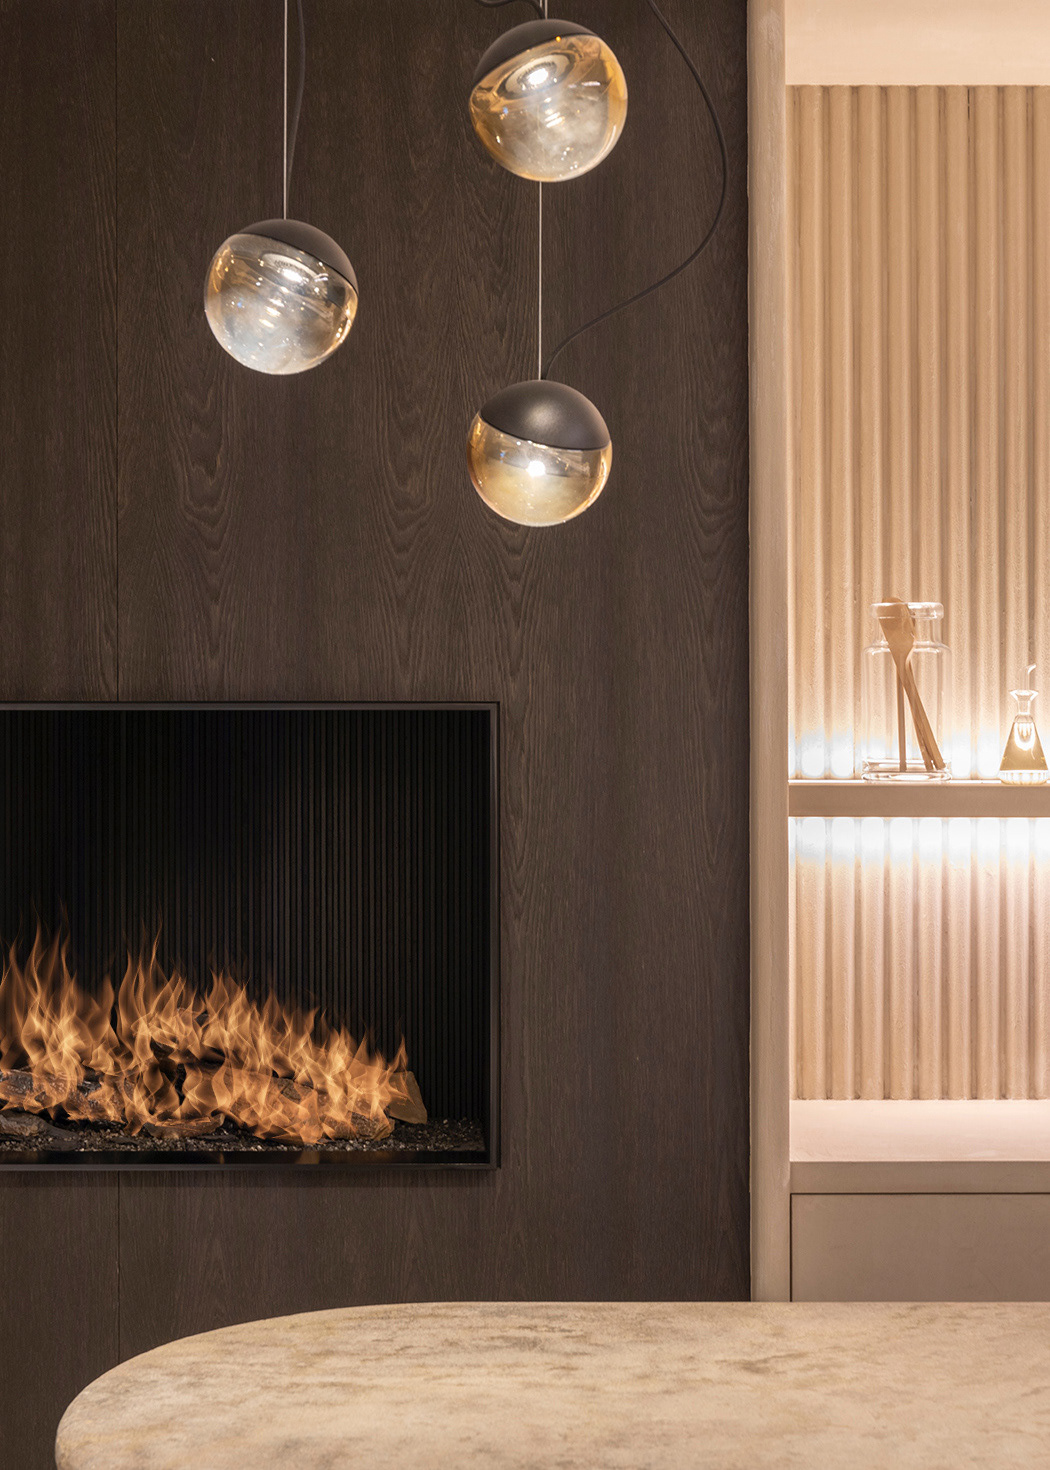
Using Photoshop's Render > Flame, I demonstrate how to add fire to the logs in the hearth in this photo.
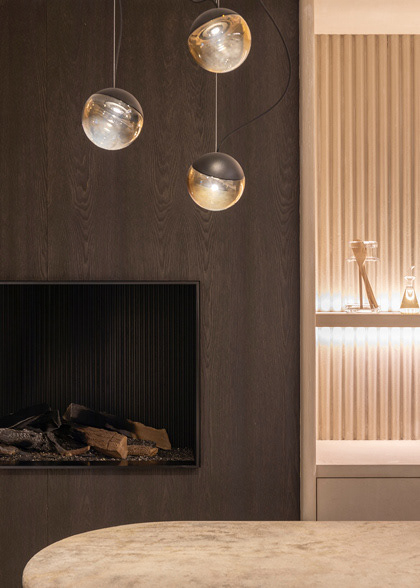
Photo by Jean-Philippe Delberghe
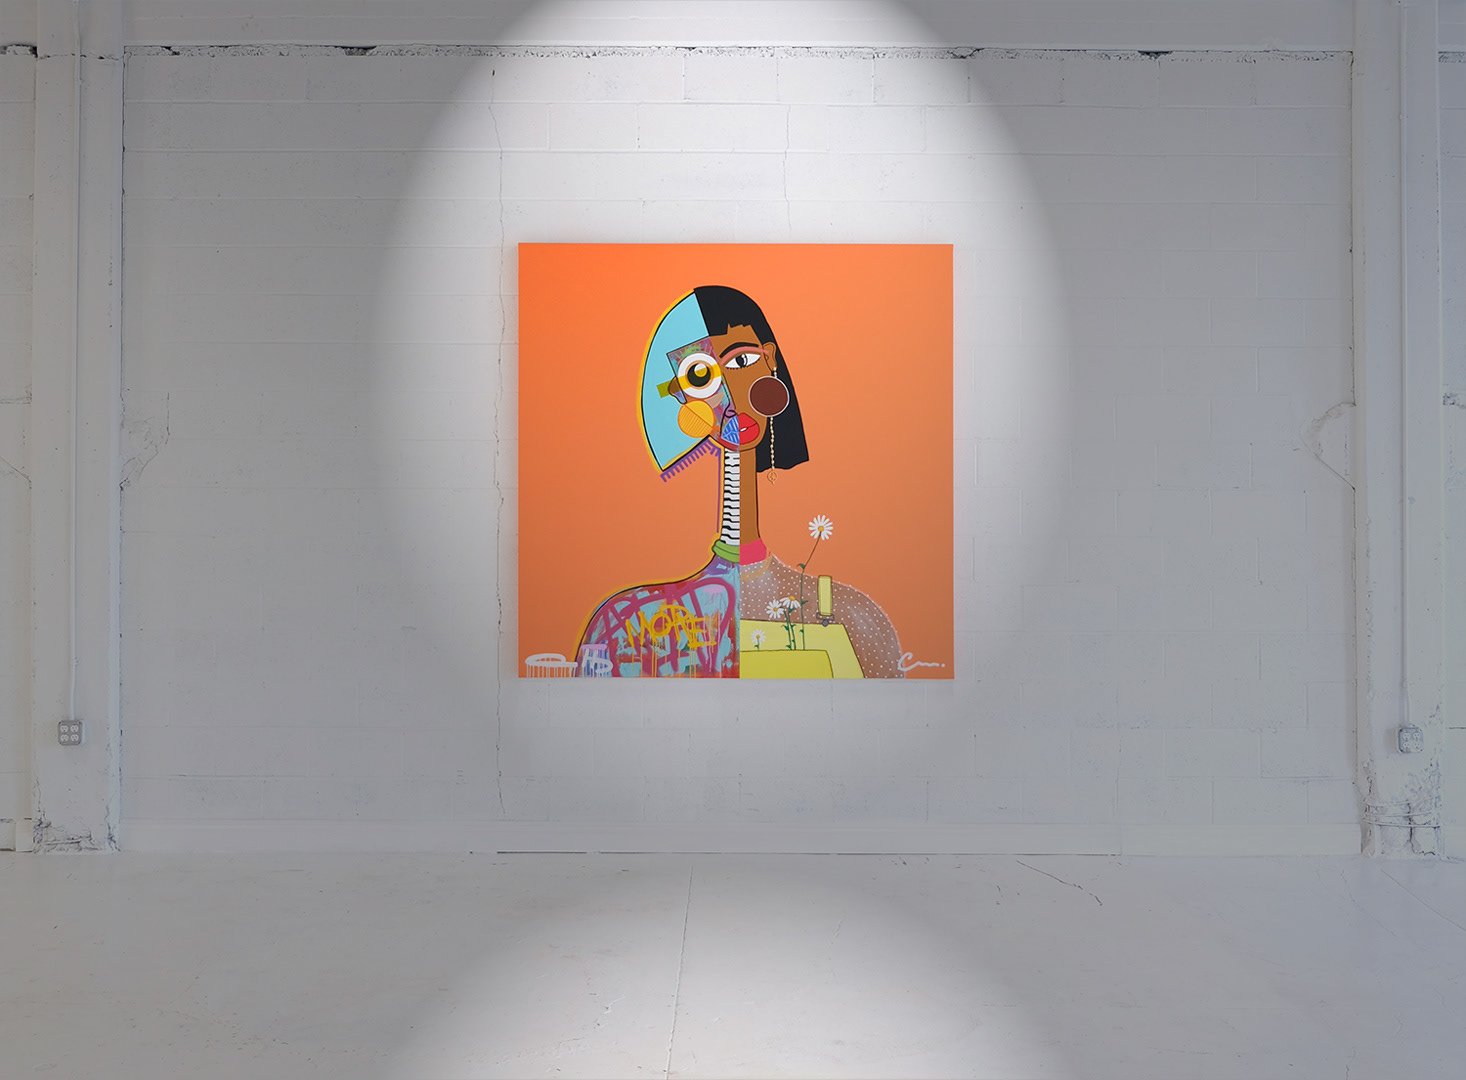
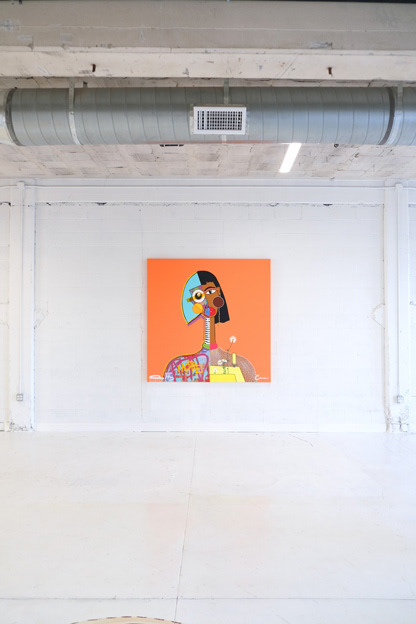
Application of Photoshop's Light Effects

Using a photo from an art gallery, I demonstrate an application of Photoshop's light effects.
Conceptual Staircase with Lit Waterfall Wall
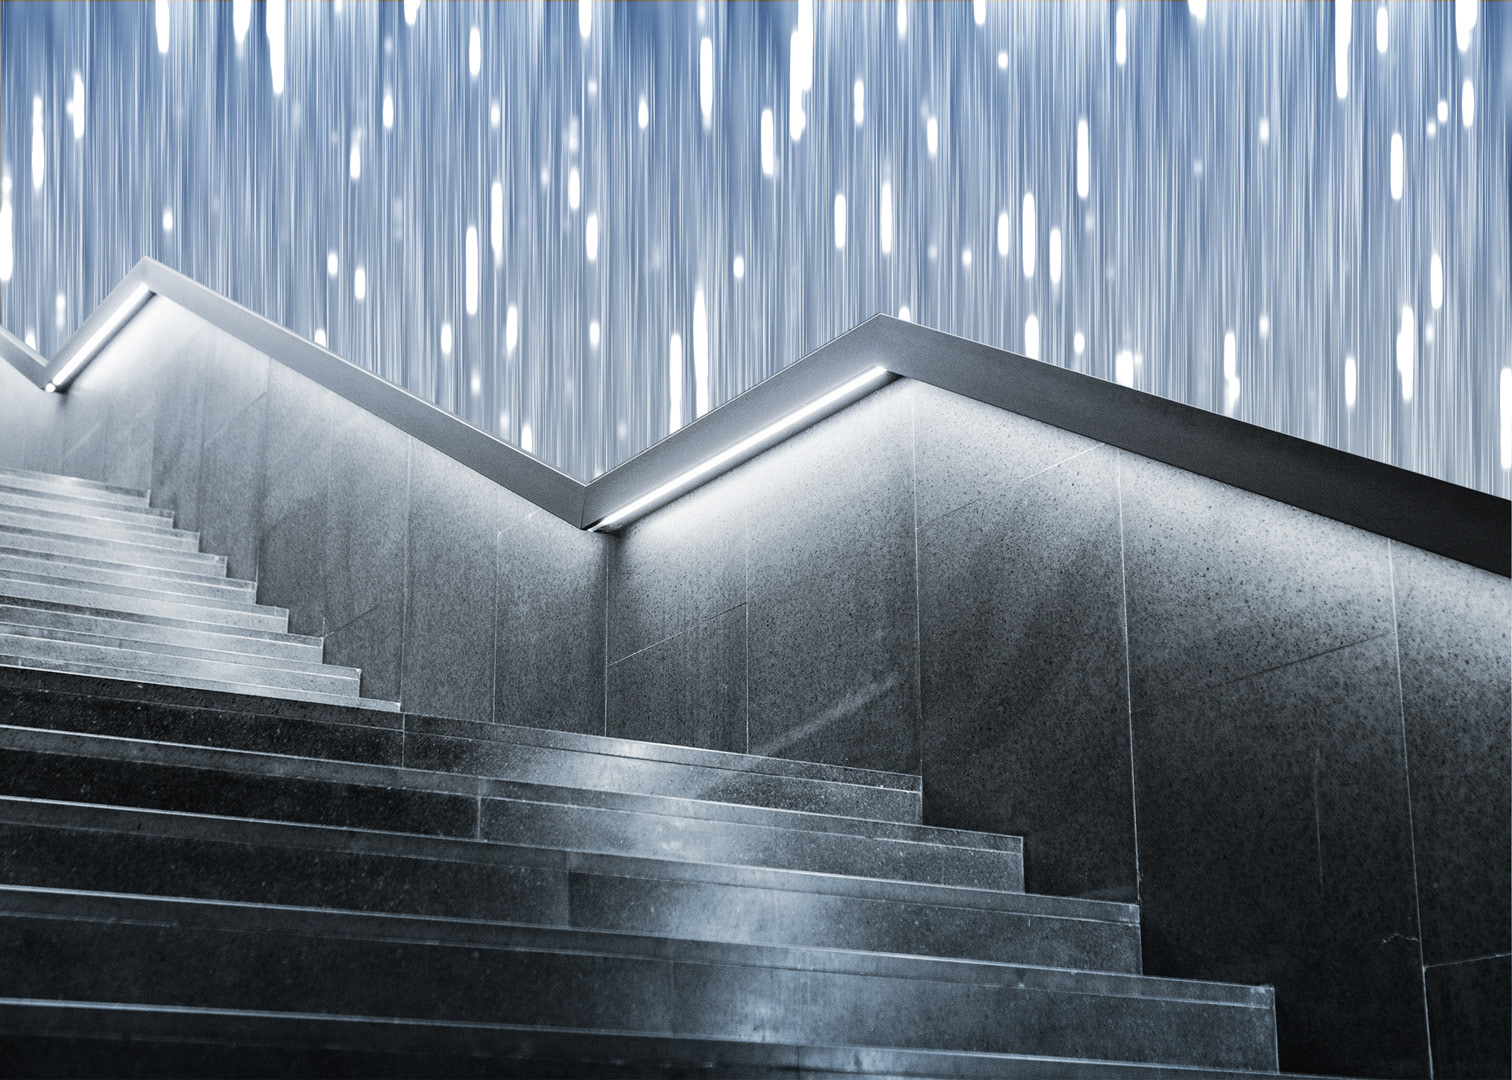
In this composition, I show how to generate a modern-looking wall of water or light starting with rendered fibers, turning the fibers into a smart object, and applying a variety of smart filters. By masking and adjusting the color on a photo of a staircase, the result is a conceptual environment.
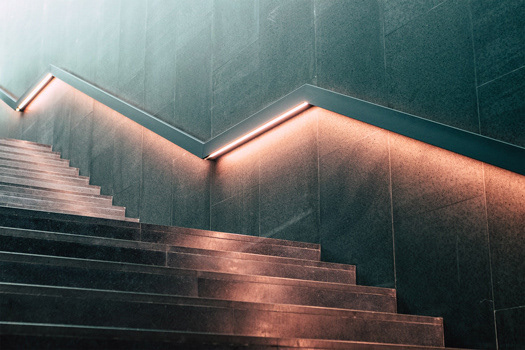
Photo of Mudec museum of culture, Milano, Italy by Alessia Cocconi
Convert a Photo to a Painting
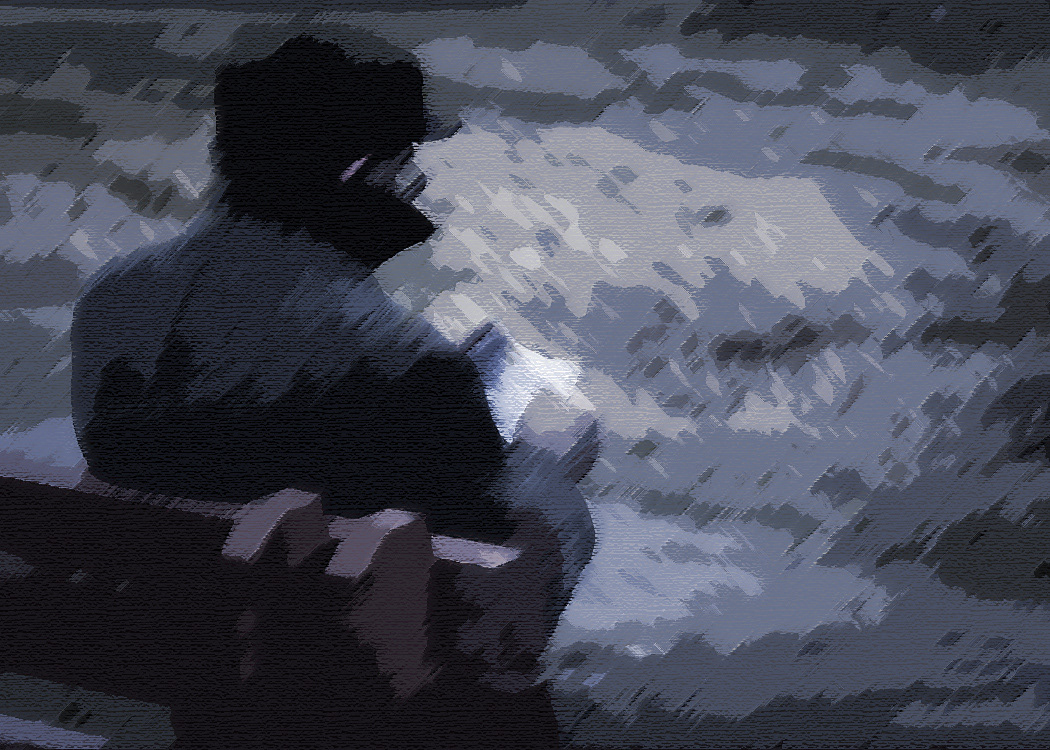
In this lesson on Photoshop effects, I show students how to start with a photograph and apply a variety of smart filters and an adjustment layer to create a somber painting.
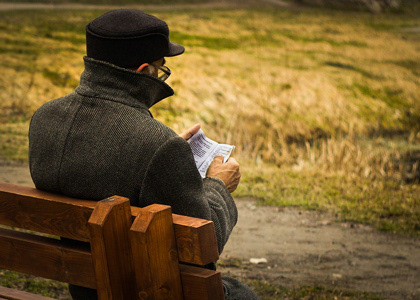
Photo by Ihor Malytskyi
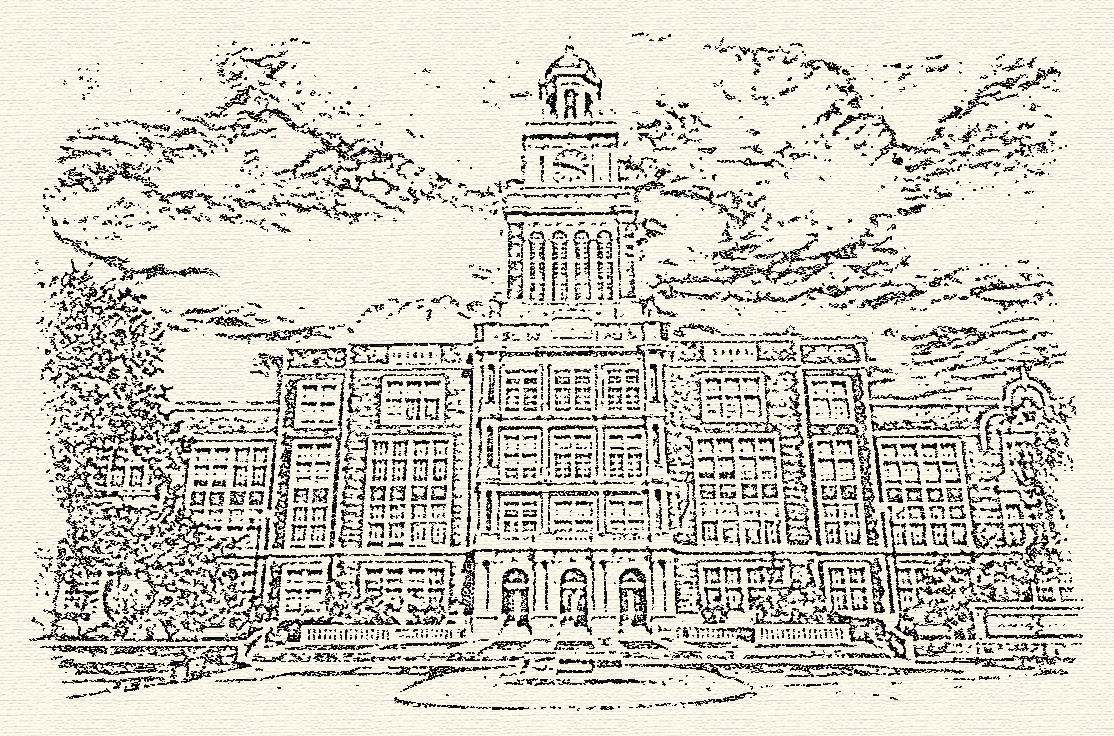
Convert a Photo of a Building to a Line Drawing

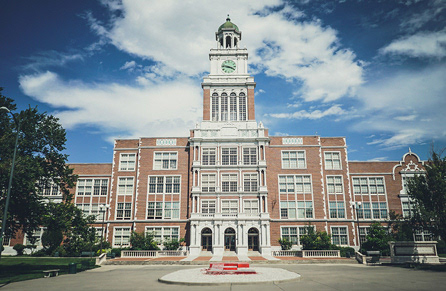
Denver East High School, Denver, United States by Free To Use Sounds
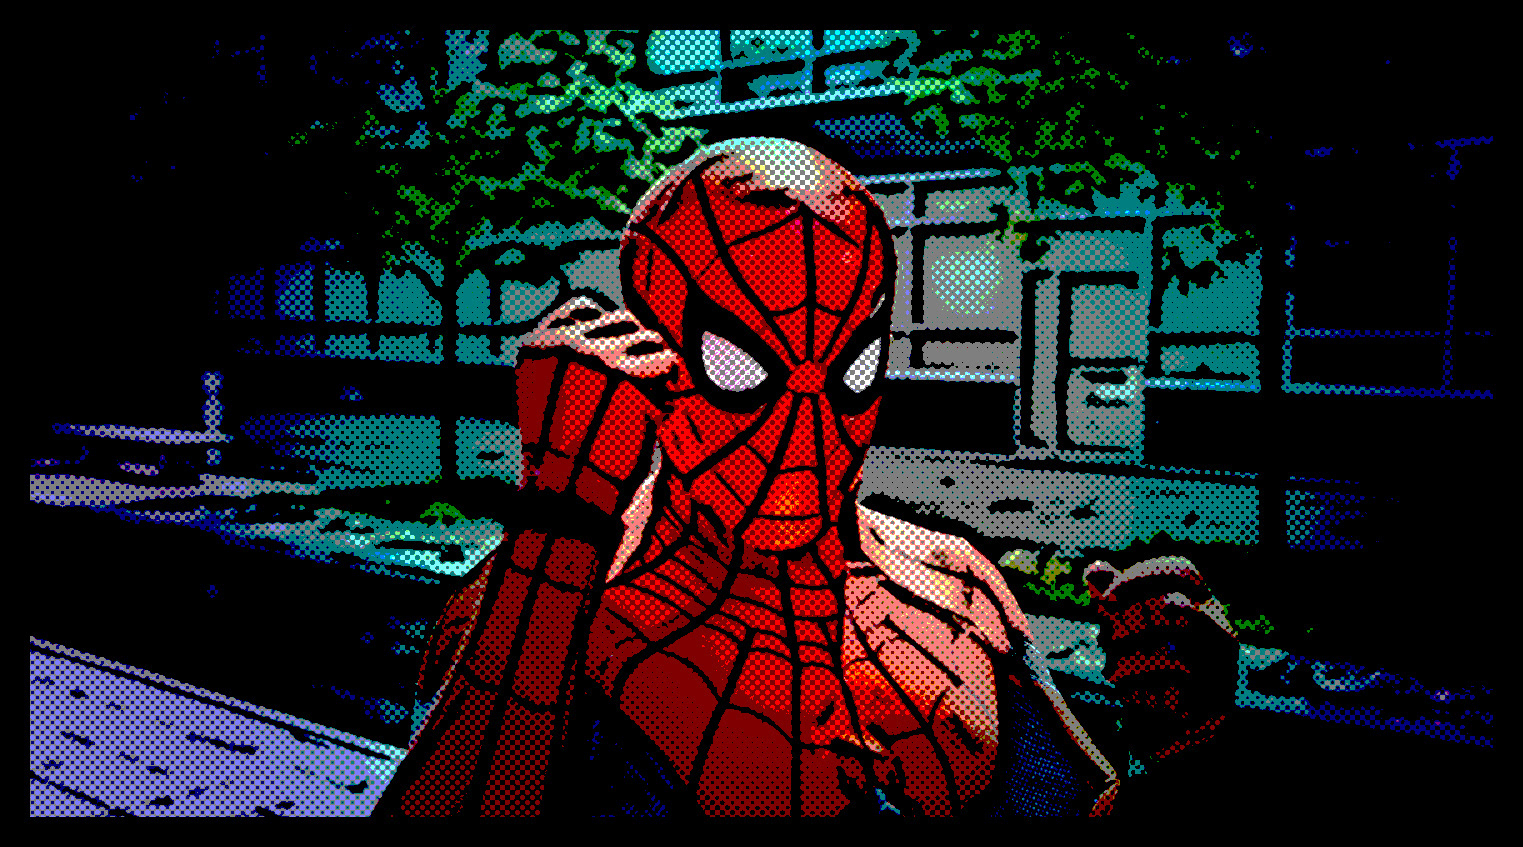
Making a Comic Book Graphic from a Photo

In this Photoshop lesson, I demonstrate creating effects with smart filters, layer effects, and adjustment layers to turn a photo of a man in costume into a comic book graphic.
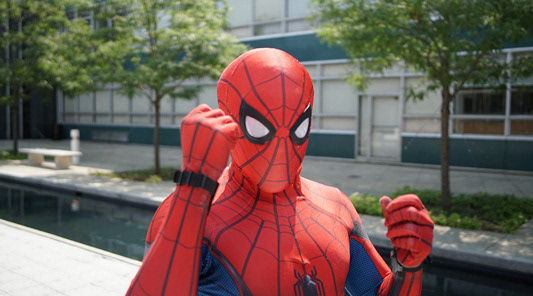
Original photo by Stem List
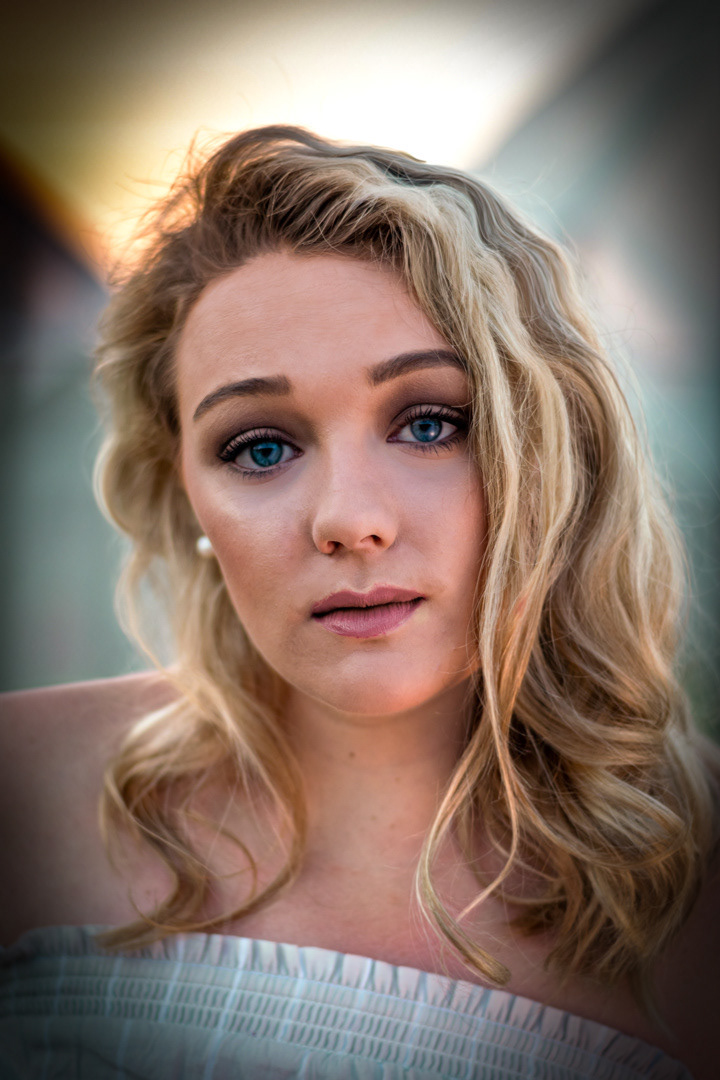
Model Transformation with Non-destructive Edits

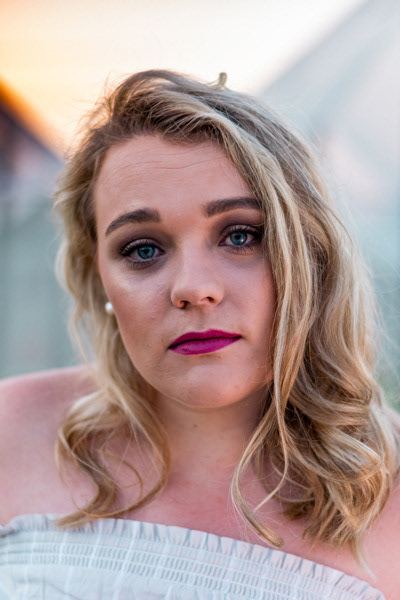
Woman wearing white top and pink lipstick by Dominic Blignaut
More Appetizing Chicken Strips & French Fries
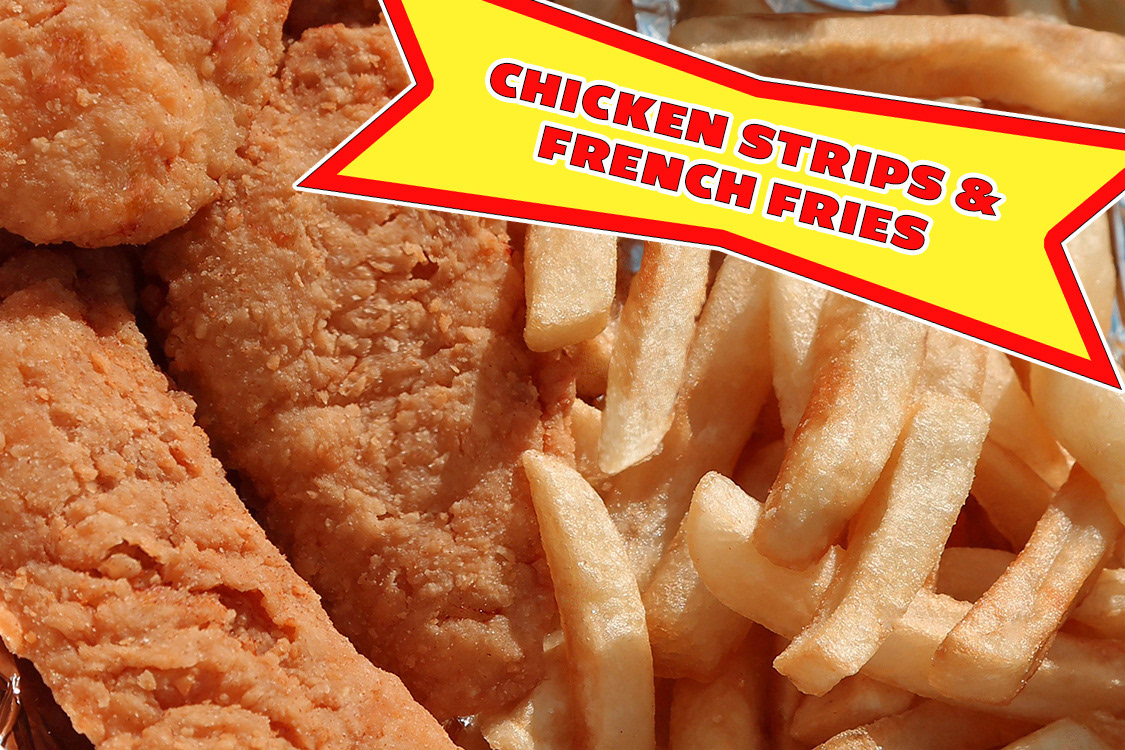
I designed this Photoshop exercise to show multiple ways of manipulating pixels. To remove the prominent burnt spot on one fry, the hair on another fry in the upper middle of the photo, add a fry in a blank spot, straighten out withered fries, clean up burnt spots, remove the reddish brown lines on the chicken (it might actually be fish), and plump up the strips of chicken, required a variety of tools and techniques including the Clone Tool, the Spot Healing Brush, the Healing Brush, and Liquify. The final image was color-corrected and labeled with text in a banner that was embellished with layer styles.
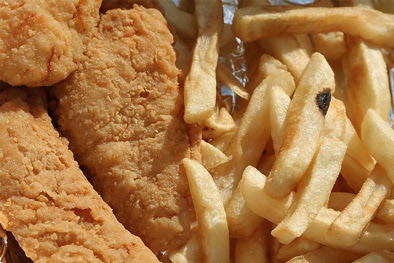
The original source image is by Dodgerton Skillhause.
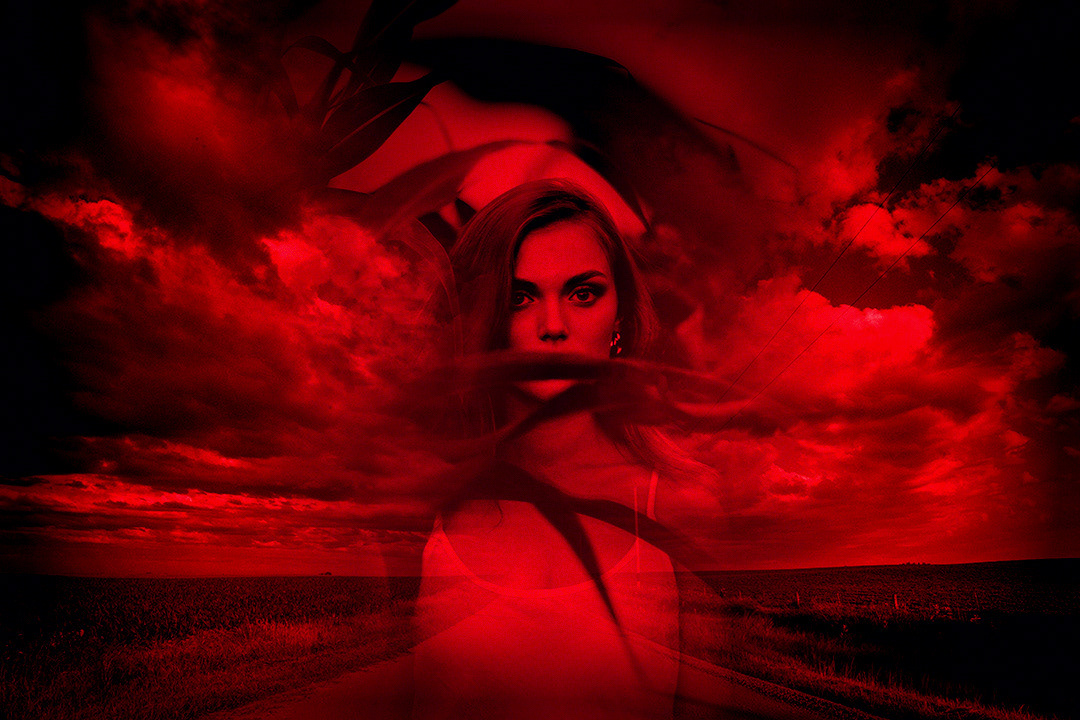
Dramatic Changes with Color and Accent Images
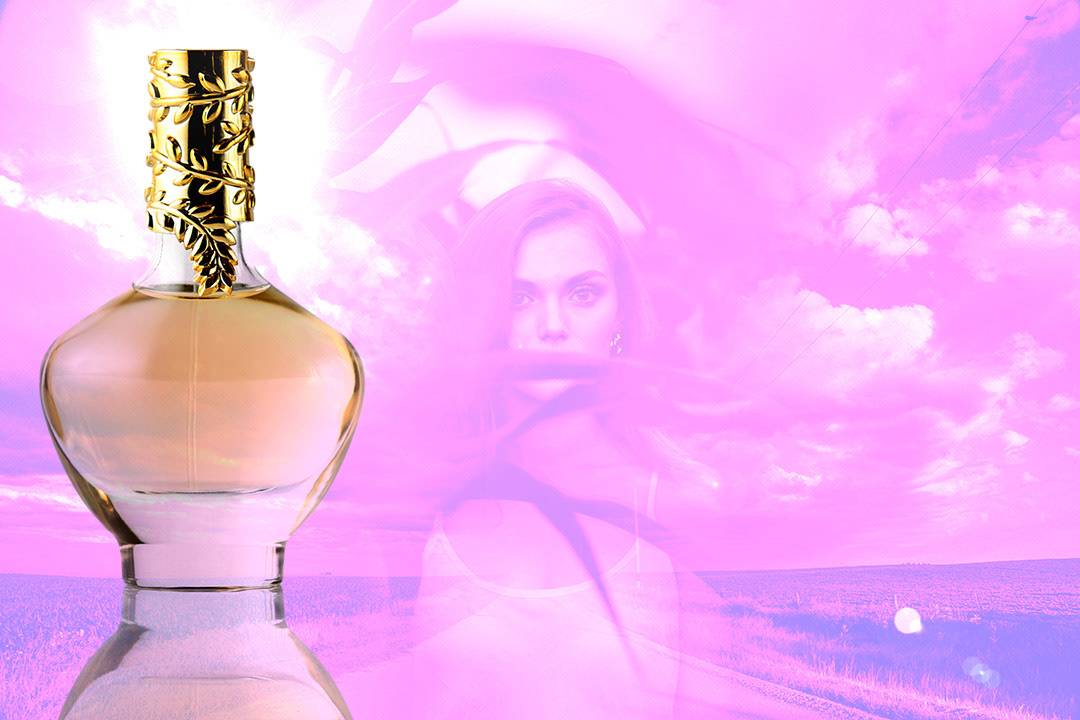
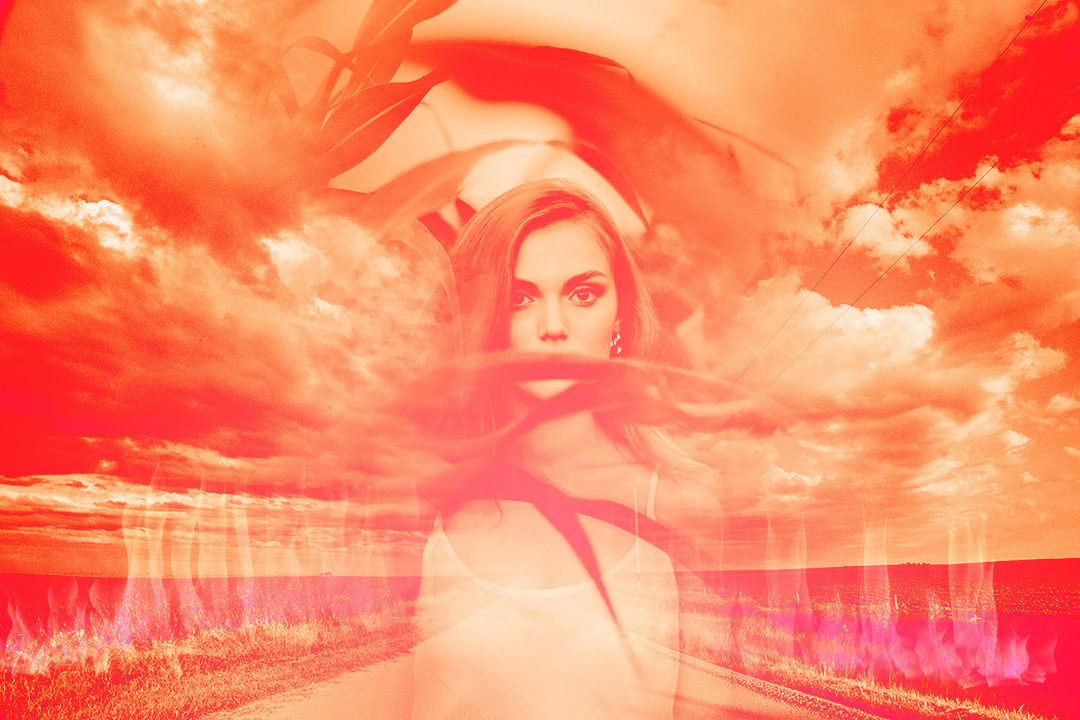

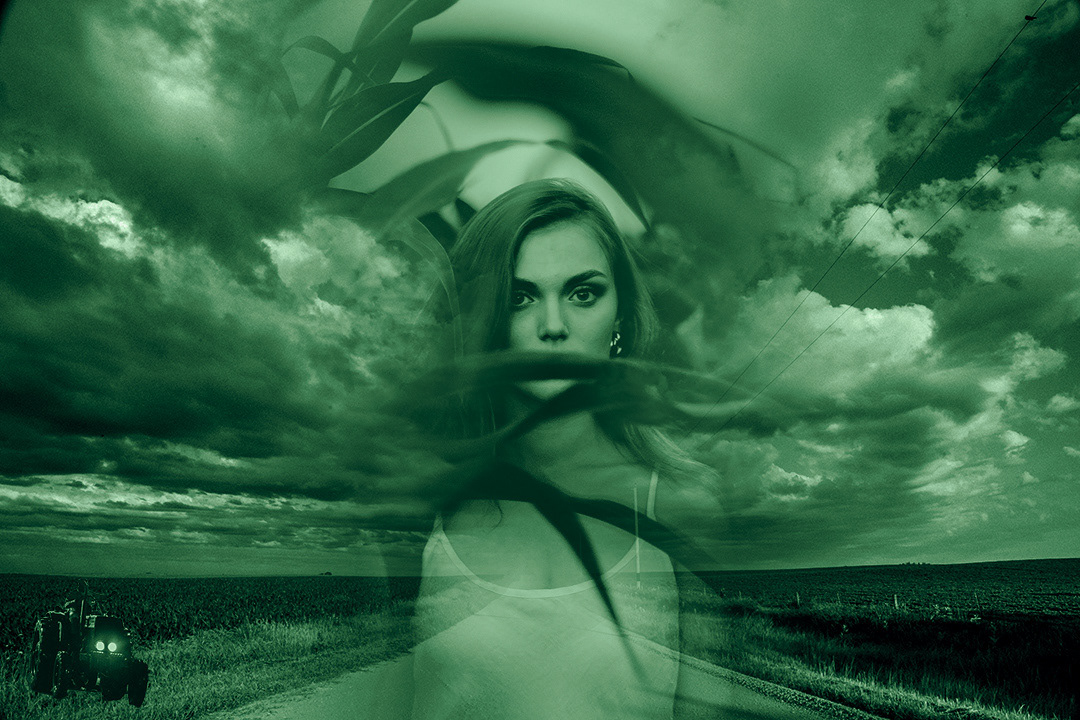
In this Photoshop exercise, I start with the combination of two grayscale images to show how variations in color, adjustment layers, blend modes, layer masks, layer styles, and accent images, can change the feeling of the overall composition so dramatically.
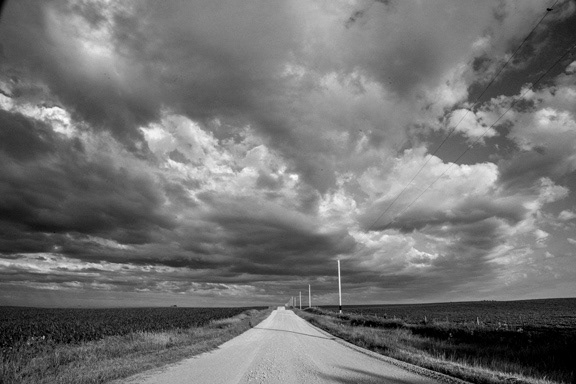
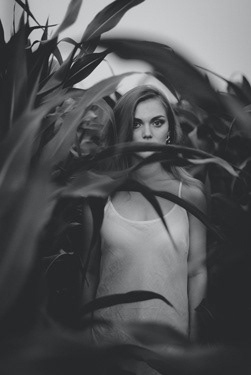
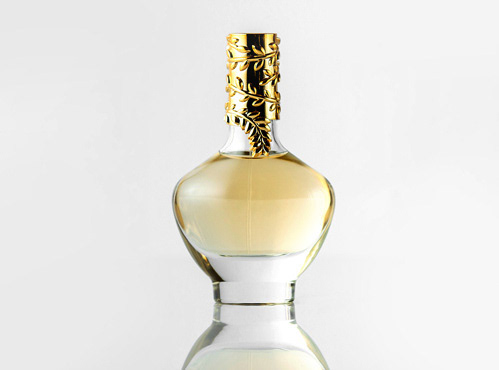
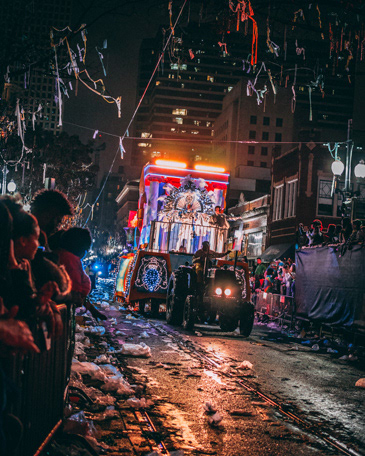
The photos used in this exercise are from left to right: Stormy Road by Ryan McGuire, untitled grayscale image of woman in cornfield by Kate Hliznitsova, Front view light bottle with golden cap isolated white floor by KamranAydinov / Freepik, and Person riding tractor surrounded by peoples photo by Cayetano Gil.
Selections and Effects Create a Composition
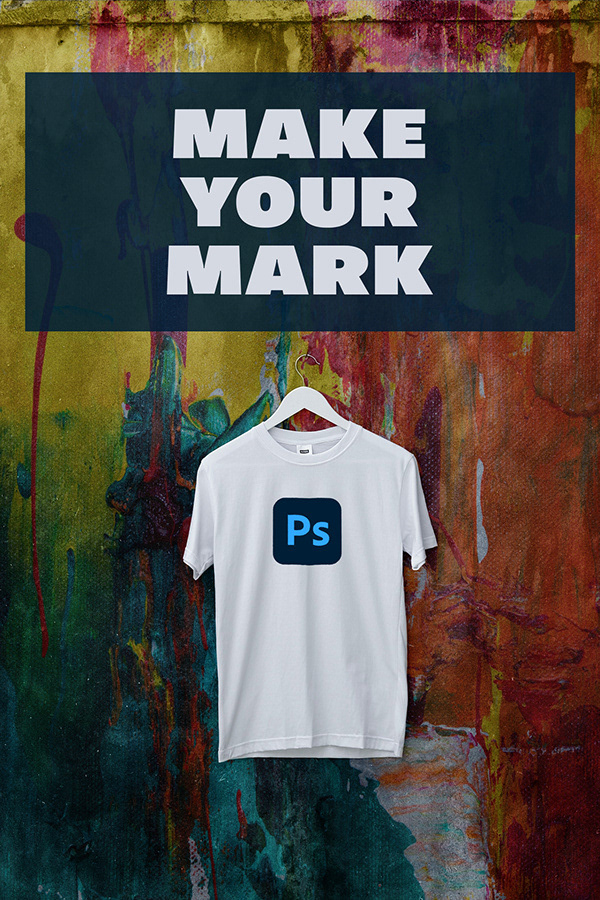
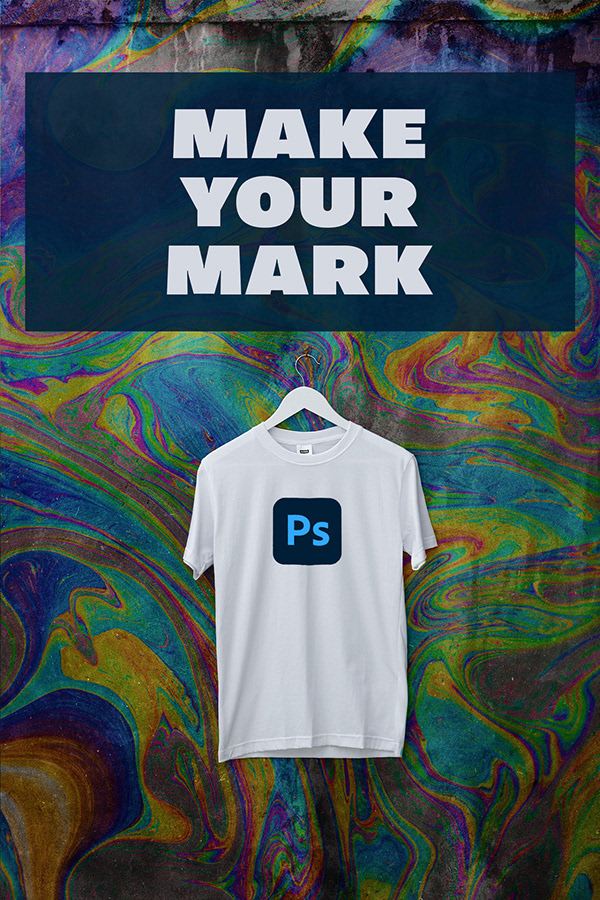
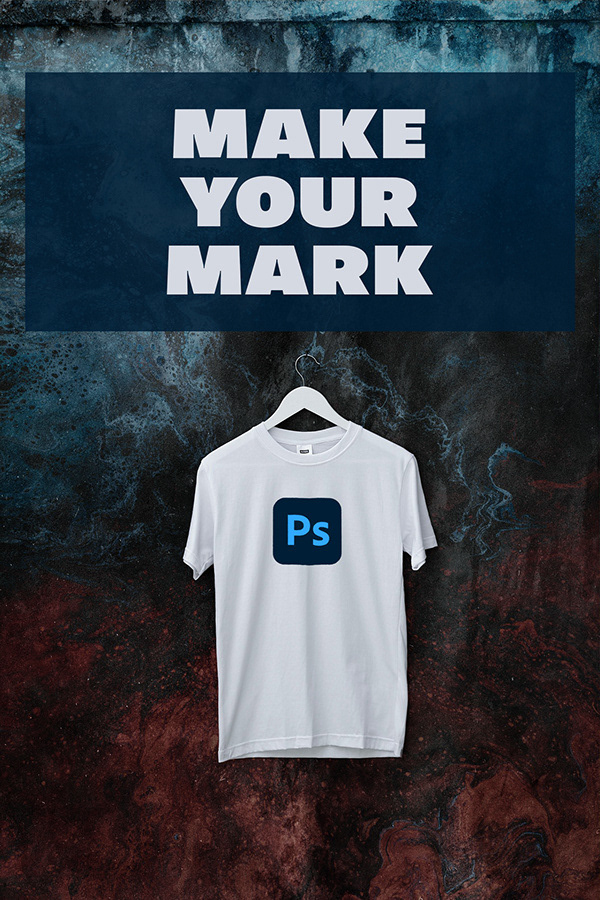
With a background image of a t-shirt hanging on a concrete wall, the new Photoshop icon, and some background images, I created a Photoshop exercise to teach the following concepts: selections, layer masks, smart objects, smart filters, displacement maps, shape layers, opacity, blend modes, and text.

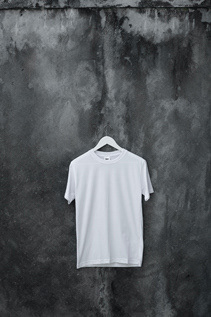
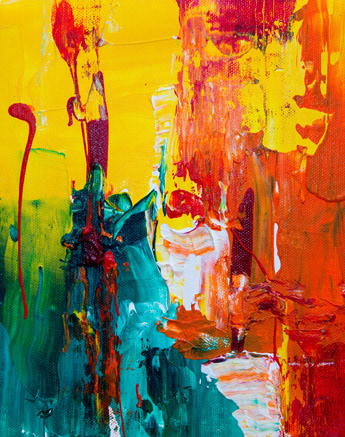
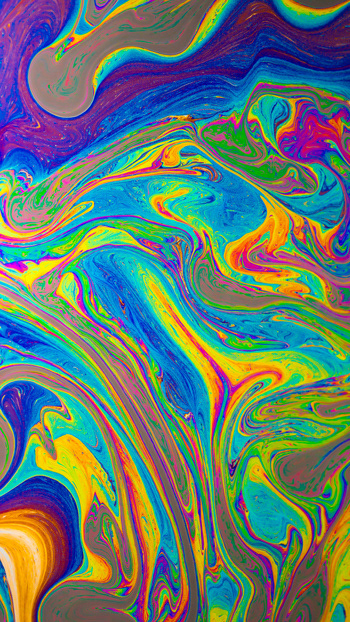
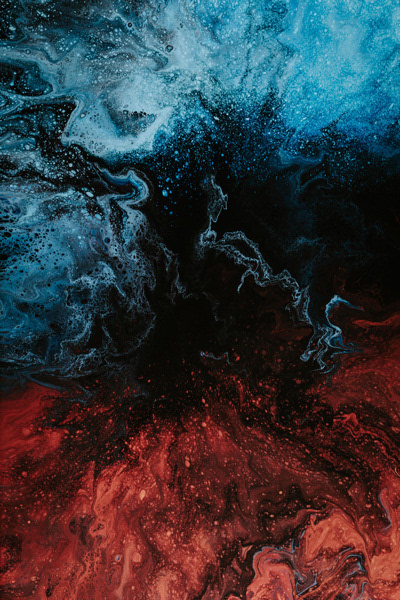
The photos from left to right include: White Crew Neck T-Shirt Photo by Haryo Setyadi, Multicolored Painting Photo by Daniel Olah, Abstract Painting Photo by Steve Johnson, Red and Blue Wallpaper Photo by Paweł Czerwiński.